
Making your WordPress website stand out in the dynamic world of web design is essential to making an impact. Adding custom CSS is one powerful way to make this distinction. This tutorial explores the importance of custom CSS and offers three simple ways to include it into your WordPress website in 2024. You may easily customize your website's visual elements to fit your own brand identification and design preferences by using custom CSS. The ability to alter the look of your website is still essential to drawing in and keeping visitors as the digital world changes. You'll be able to easily manage the procedure and give your WordPress site the edge it needs to stand out among the plethora of online competition by using the following approaches.
Why Add Custom CSS in WordPress?
Custom CSS in WordPress serves as a versatile tool for aligning the visual elements of your website with your brand identity or desired design aesthetics. Whether you aim to refine fonts, fine-tune color schemes, or adjust layout elements, custom CSS grants you the flexibility to make precise design modifications without compromising your theme's core files. This capability empowers website owners to create a cohesive and visually appealing online presence that accurately reflects their brand personality or achieves a specific design vision. By leveraging custom CSS, WordPress users can ensure their websites stand out in the competitive digital landscape while maintaining control over the intricacies of their site's appearance. If you want to make your website with Elementor then you can build your website with Elementor site builder.
Methods To Add Custom CSS in WordPress Easily
Method 1: Adding Custom CSS Using Theme Customizer

After you Buy WordPress themes go to Theme Customizer in WordPress offers a user-friendly approach to modifying your theme's CSS, allowing you to fine-tune various design elements with ease. Here's a detailed breakdown of how to use this method:
- Navigate to "Appearance" > "Customize" in your WordPress dashboard: Start by logging into your WordPress dashboard and accessing the Appearance tab. From there, select "Customize" to enter the Theme Customizer interface.
- Select the "Additional CSS" option: Within the Theme Customizer, look for the option labeled "Additional CSS." This option is typically located towards the bottom of the customization panel.
- Enter your custom CSS code in the provided editor: Once you've selected the "Additional CSS" option, you'll be presented with a text editor where you can input your custom CSS code. Here, you can add CSS rules to style specific elements of your website according to your preferences. For example, you can adjust font styles, colors, margins, padding, and more.
- Click on "Publish" to save your changes: After entering your custom CSS code, click on the "Publish" button to apply your modifications to your website. This action ensures that your custom CSS is saved and implemented on your live site for visitors to see.
Utilizing the Theme Customizer to add custom CSS offers several advantages, including real-time previews of your changes and the ability to experiment with different styles without affecting your theme's core files. Additionally, the Theme Customizer provides a centralized and intuitive interface for managing CSS modifications, making it accessible even for users with limited technical expertise. By following these steps, you can effectively leverage the Theme Customizer to enhance the design and aesthetics of your WordPress website with custom CSS.
Method 2: Adding Custom CSS Using the WPCode Plugin:
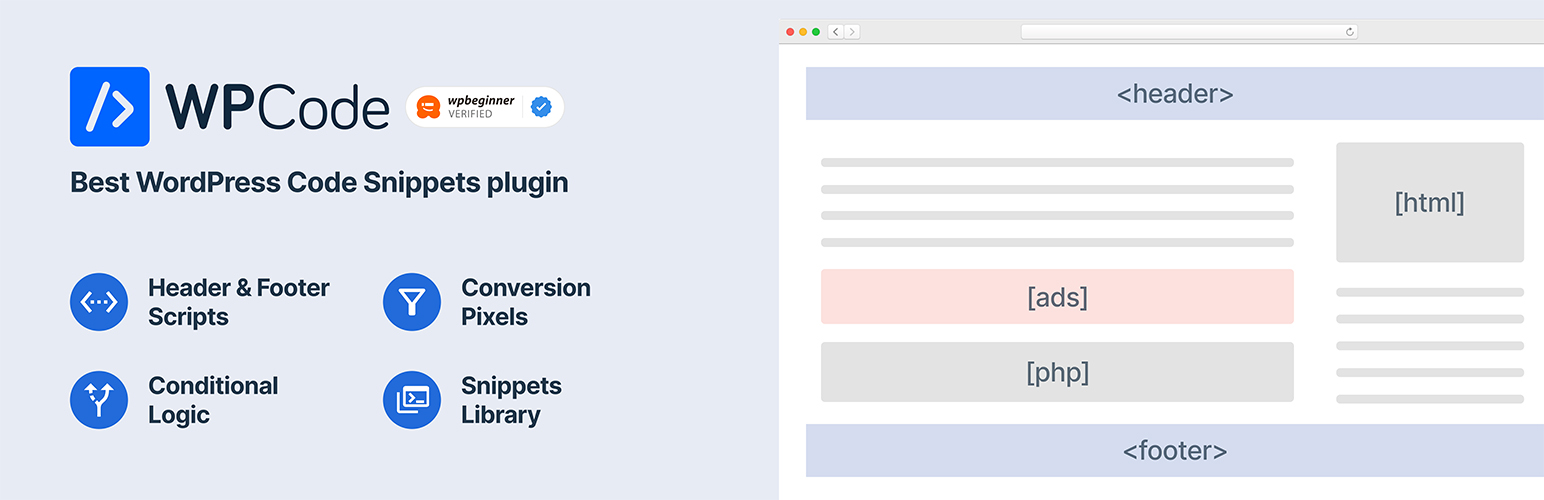
The WPCode plugin streamlines the task of incorporating custom code snippets, including CSS, into your WordPress website. Here's a step-by-step guide on how to use this method:

- Install and activate the WPCode plugin: Begin by accessing the WordPress dashboard of your website. Navigate to the "Plugins" section and click on "Add New." Search for the WPCode plugin, install it, and then activate it.
- Access the WPCode settings: After activating the plugin, locate the WPCode menu item in your WordPress dashboard. Hover over it and click on "Add New Code" to proceed.

- Enter a title for your custom CSS snippet: In the "Add New Code" page, you'll be prompted to provide a title for your code snippet. Choose a descriptive title that reflects the purpose of your CSS code.
- Input your CSS code: Within the WPCode editor, you can input your custom CSS code. This is where you define the specific styles and adjustments you want to apply to your website's design.
- Choose where you want the code to be applied: WPCode offers options for specifying where you want your custom CSS to be applied. You can target specific sections of your website, such as the header, footer, or individual pages, by selecting the appropriate settings.
- Click on "Publish" to apply the custom CSS: Once you've entered your CSS code and configured the settings according to your preferences, click on the "Publish" button to save and apply your custom CSS to your website.
The WPCode plugin provides a straightforward solution for managing custom CSS snippets on your WordPress site. By following these steps, you can easily add and apply custom CSS to achieve the desired design enhancements and styling effects across your website. By using custom CSS you can also create Custom post type. for more detailed information for custom post type you can visit our blog on "how to create custom post types in WordPress"
Method 3: Adding Additional CSS with Full Site Editor (FSE):

WordPress's Full Site Editor (FSE) empowers users to manipulate their website's appearance and content using a block-based editing interface. Here's a detailed explanation of how to leverage FSE to incorporate custom CSS:
- Access the Full Site Editor from the WordPress dashboard: Log in to your WordPress dashboard and navigate to the "Appearance" menu. Select "Full Site Editing" or "Site Editor" to enter the FSE interface.
- Select the block or element you want to customize: Within the Full Site Editor, navigate to the section of your website where you wish to apply custom CSS. Click on the relevant block or element to select it.
- Click on the "Advanced" tab in the block settings: Once you've selected the block or element, locate the "Advanced" tab in the block settings panel. Click on it to access additional customization options.
- Enter your custom CSS code: In the "Advanced" tab, you'll find fields labeled "Additional CSS Class" or "Additional CSS." Here, you can input your custom CSS code to style the selected block or element according to your preferences. Write your CSS rules, specifying the desired styles, selectors, and properties.
- Save your changes: After entering your custom CSS code, click on the "Save" or "Update" button to apply your modifications. This action ensures that your custom CSS is saved and implemented on your website.
By following these steps, you can effectively utilize WordPress's Full Site Editor to add custom CSS to your website. FSE provides a user-friendly and intuitive interface for incorporating CSS modifications, allowing you to customize the appearance of your site's elements with precision and ease.
Whether you're adjusting typography, colors, or layout elements, FSE empowers you to achieve your desired design outcomes without the need for advanced technical skills. You can also optimize your website by implementing WordPress SEO tips to boost your website's performace.
Adding CSS to Your Theme vs. Using a Custom CSS Plugin
While both methods have their merits, employing a custom CSS plugin offers superior flexibility and convenience. Plugins like WPCode furnish a designated area for overseeing custom CSS, ensuring organizational clarity and reducing the likelihood of conflicts during theme updates. By keeping your theme files uncluttered, these plugins streamline the management of custom CSS, enhancing efficiency and ease of use. Nonetheless, integrating CSS directly into your theme via the Theme Customizer or Full Site Editor (FSE) remains a viable alternative, particularly if you favor a more straightforward approach or possess specific customization requirements. Ultimately, the choice between plugin-based or built-in methods depends on your preferences, proficiency level, and the scope of your CSS customization needs.
Conclusion:
While both methods have their merits, employing a custom CSS plugin offers superior flexibility and convenience. Plugins like WPCode furnish a designated area for overseeing custom CSS, ensuring organizational clarity and reducing the likelihood of conflicts during theme updates. By keeping your theme files uncluttered, these plugins streamline the management of custom CSS, enhancing efficiency and ease of use. Nonetheless, integrating CSS directly into your theme via the Theme Customizer or Full Site Editor (FSE) remains a viable alternative, particularly if you favor a more straightforward approach or possess specific customization requirements. Ultimately, the choice between plugin-based or built-in methods depends on your preferences, proficiency level, and the scope of your CSS customization needs.


